Book Categories:



When wholesaling custom planners, most buyers focus their attention on premium cover finishes such as UV coating, foil stamping and debossing, while barely noticing inner page trimming. Yet in reality, a huge number of product returns, full-order rework and delayed customer payments all trace back to this seemingly simple cutting process.
Many new suppliers have suffered heavy losses from this issue: the sample pages come out neat and smooth, but the bulk goods arrive with uneven edges. Corporate clients reject the shipment entirely, and the wholesaler has to bear all rework expenses. Today we break down the most common trimming defects and industry risk prevention tips to help you protect your order profits.
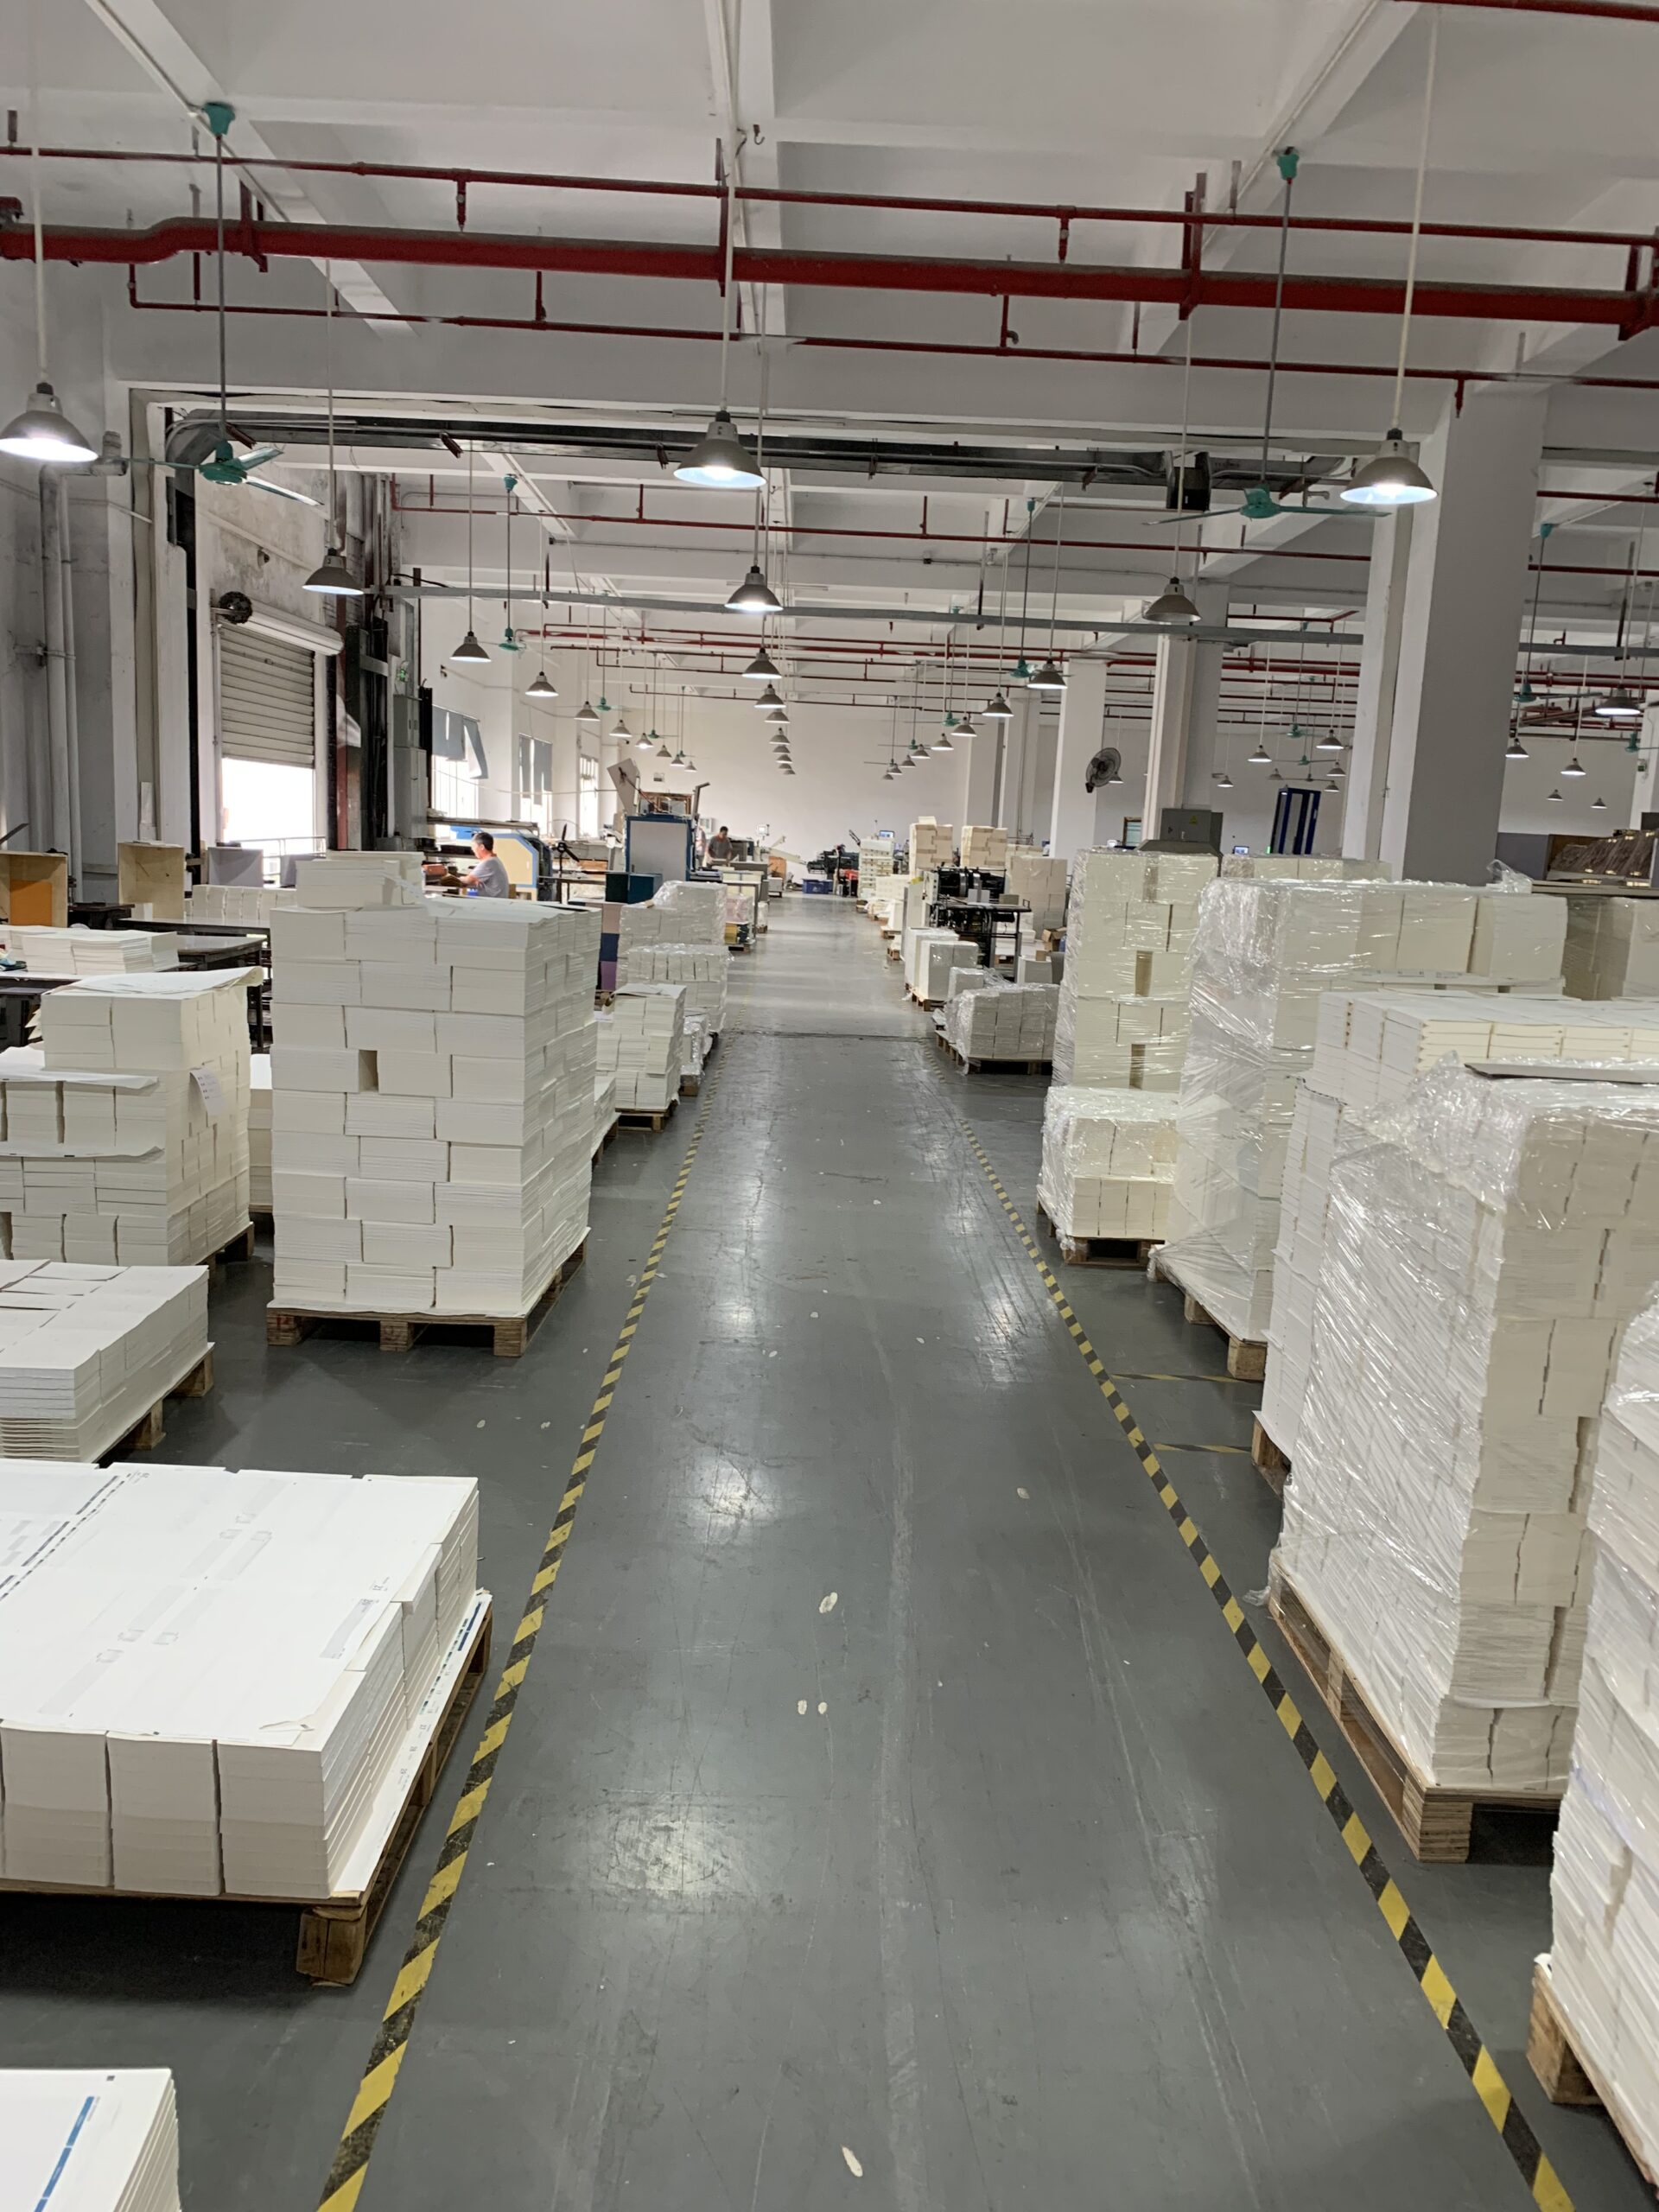
I. Six Most Common Issues Caused by Faulty Inner Page Trimming
- Uneven margin width and dimensional deviationAfter bulk binding, thick stacks of paper go through integrated trimming. Minor machine displacement leads to wider margins on one side and narrower on the other. Clients purchasing high-end business and gift planners have extremely strict standards for margins; even a few millimeters of deviation will be deemed defective.
- Ragged, sharp edges that shed paper dust and cut handsWorn cutting blades or insufficient trimming pressure create rough page edges. Paper scraps fall out when flipping pages, and jagged edges can scratch users. Cultural creative products and premium journals demand a smooth tactile experience, so goods with this flaw will definitely be returned.
- Slanted cuts resulting in trapezoidal pagesMisaligned paper positioning produces non-standard rectangular pages with mismatched top and bottom lengths. The lopsided appearance makes the planner look cheap, and supermarket retailers will refuse to stock the product entirely.
- Severed crease linesInner pages pre-scored with weekly and monthly layout fold lines often lose their creases due to trimming misalignment. Pages can no longer fold properly, rendering the whole batch unusable.
- Truncated graphics and text across spreadsInsufficient safe margins in design drafts mean trimming offset cuts off date columns, schedule charts and decorative artwork. Large batches cannot be repaired and require full reprinting and re-trimming.
- Inconsistent trimming standards between front and back sectionsIf inner pages are printed in two separate runs, blade replacement or machine recalibration at the factory creates dimensional inconsistencies between the front and back of a single planner set. Corporate custom clients will reject the full order over this defect.
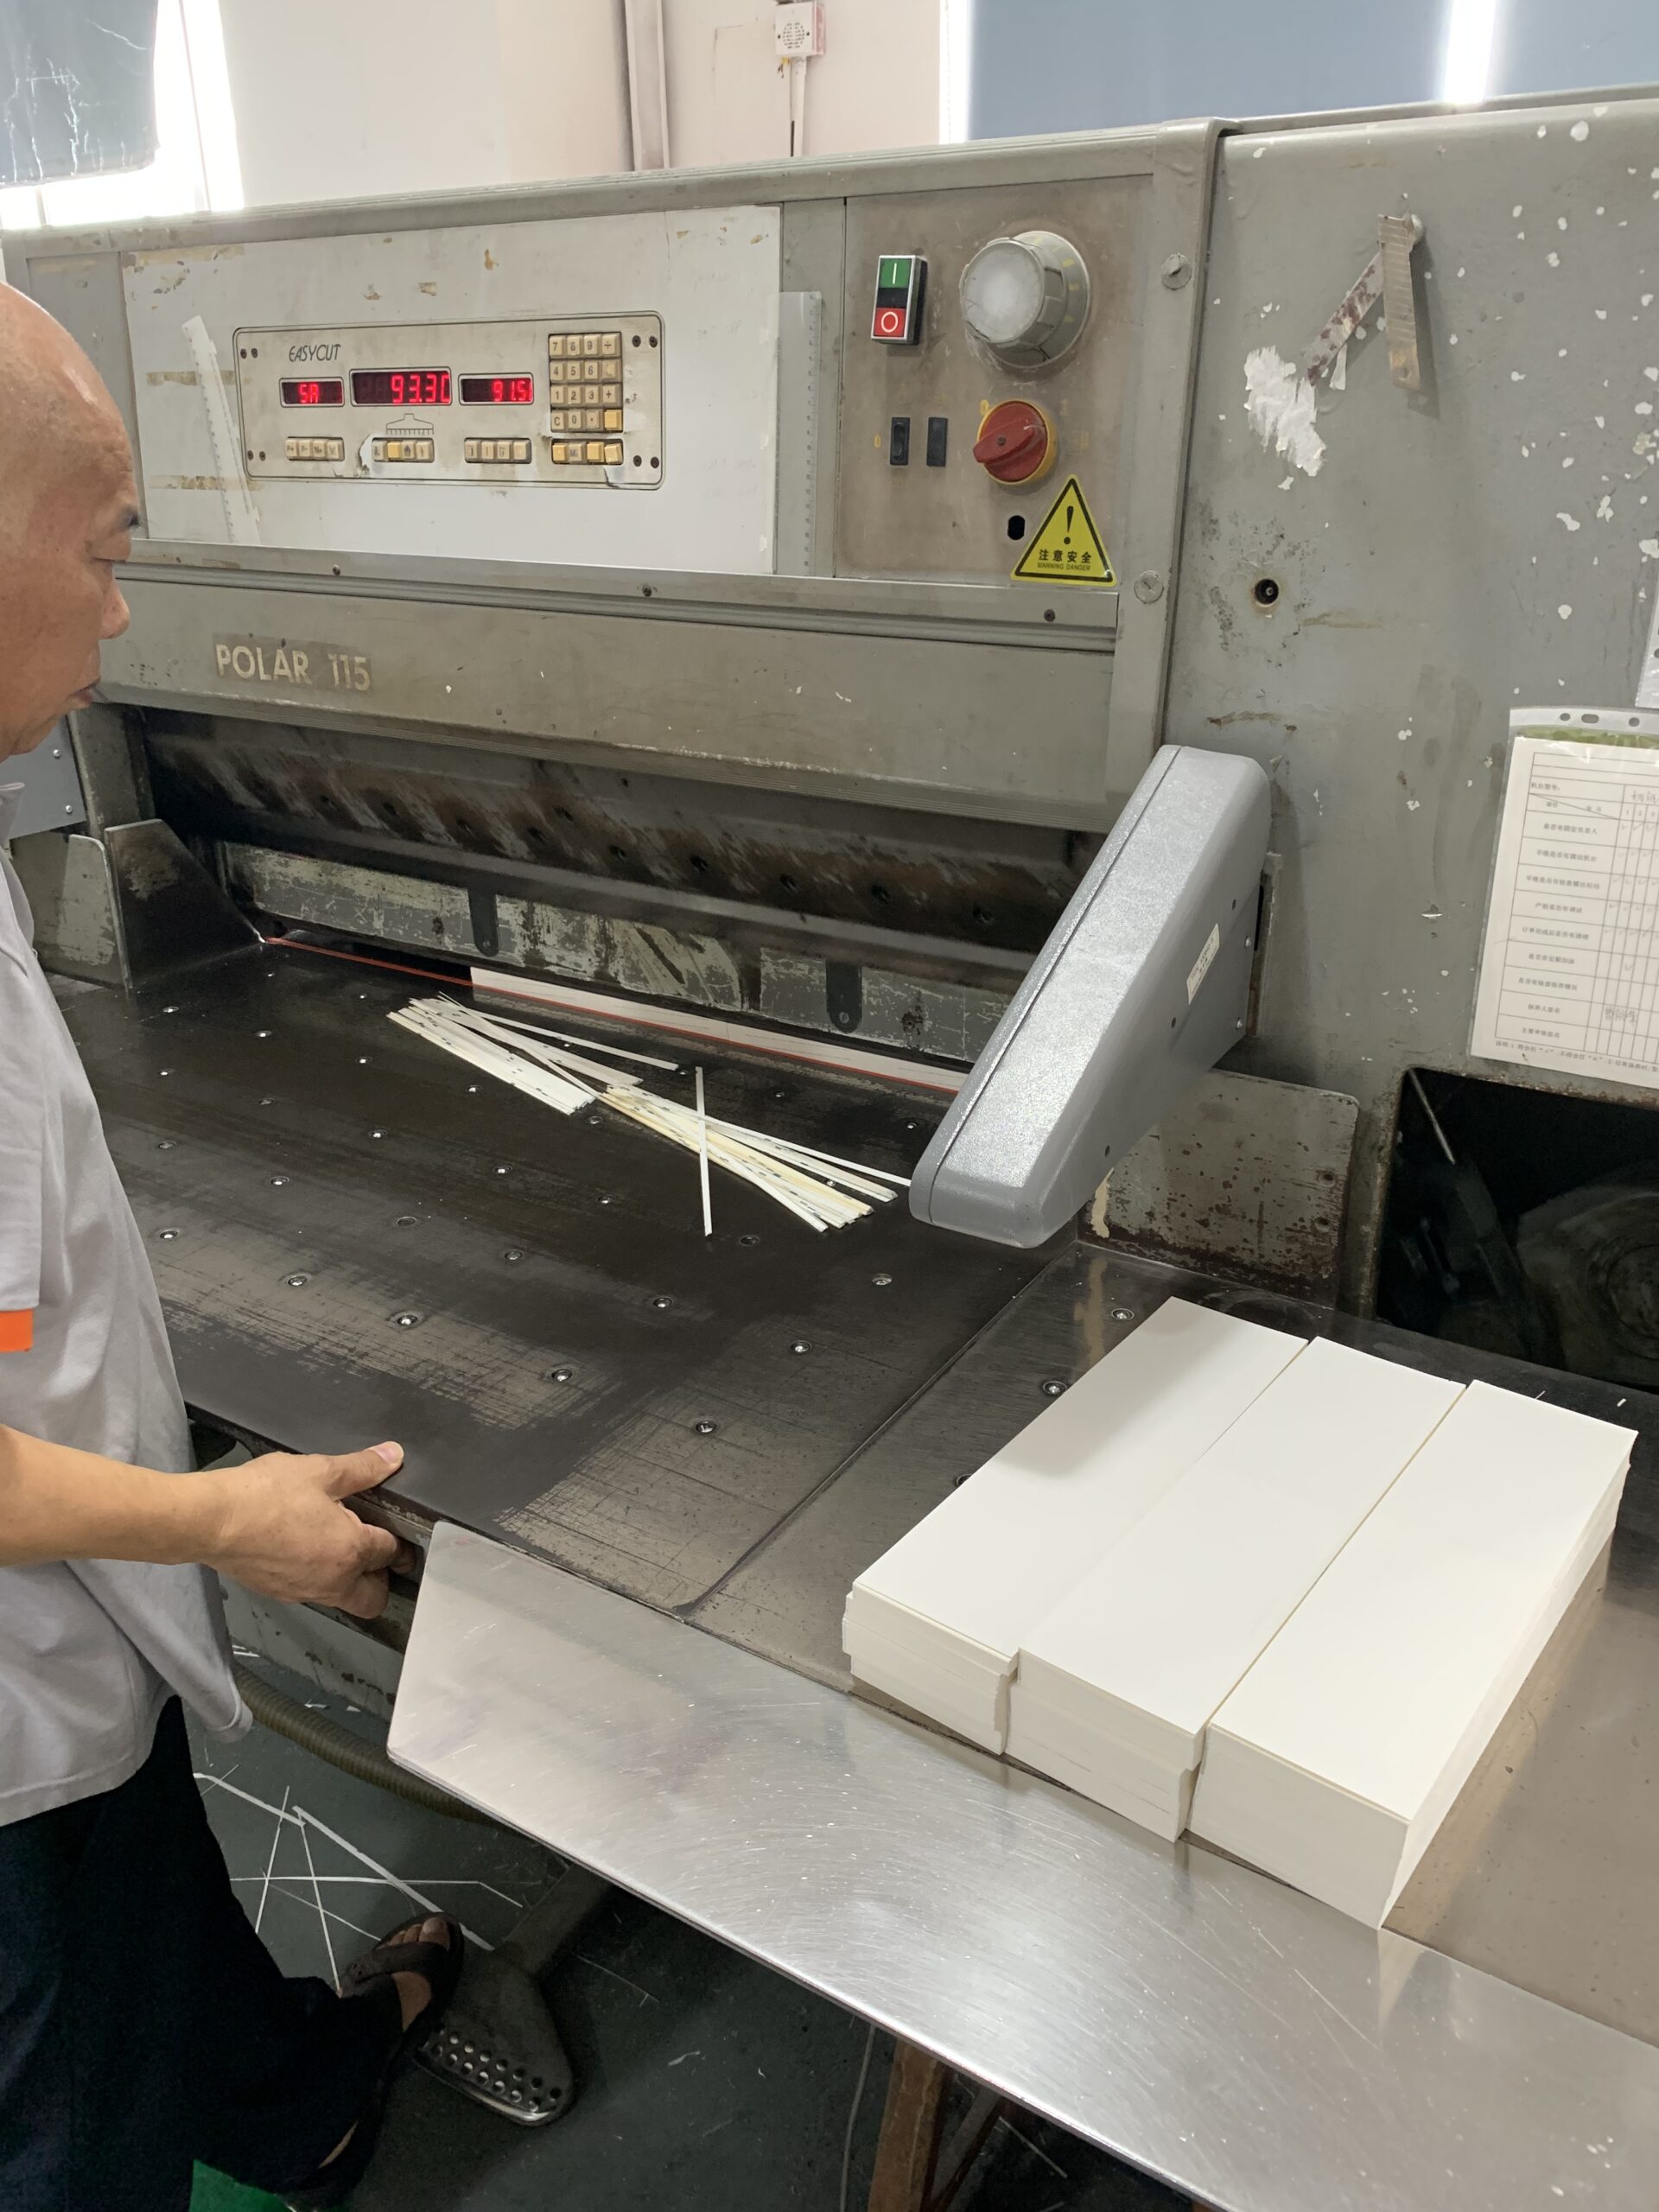
II. Differences in Trimming Techniques for Various Binding Styles
- Perfect-bound plannersThick stacked inner pages create the highest difficulty for mass trimming, easily causing vertical dimensional errors. Pages must be trimmed in thin separate stacks instead of one single thick pile.
- Wire-O coil bindingDo not over-trim the coil edge; reserve safe clearance for coil slots. Over-narrow margins will crack coil punch holes and cause pages to fall out.
- Detachable ring plannersFour-edge precision trimming is carried out after hole punching. Trimming paths must avoid punched areas to prevent cracked holes and damaged pages.
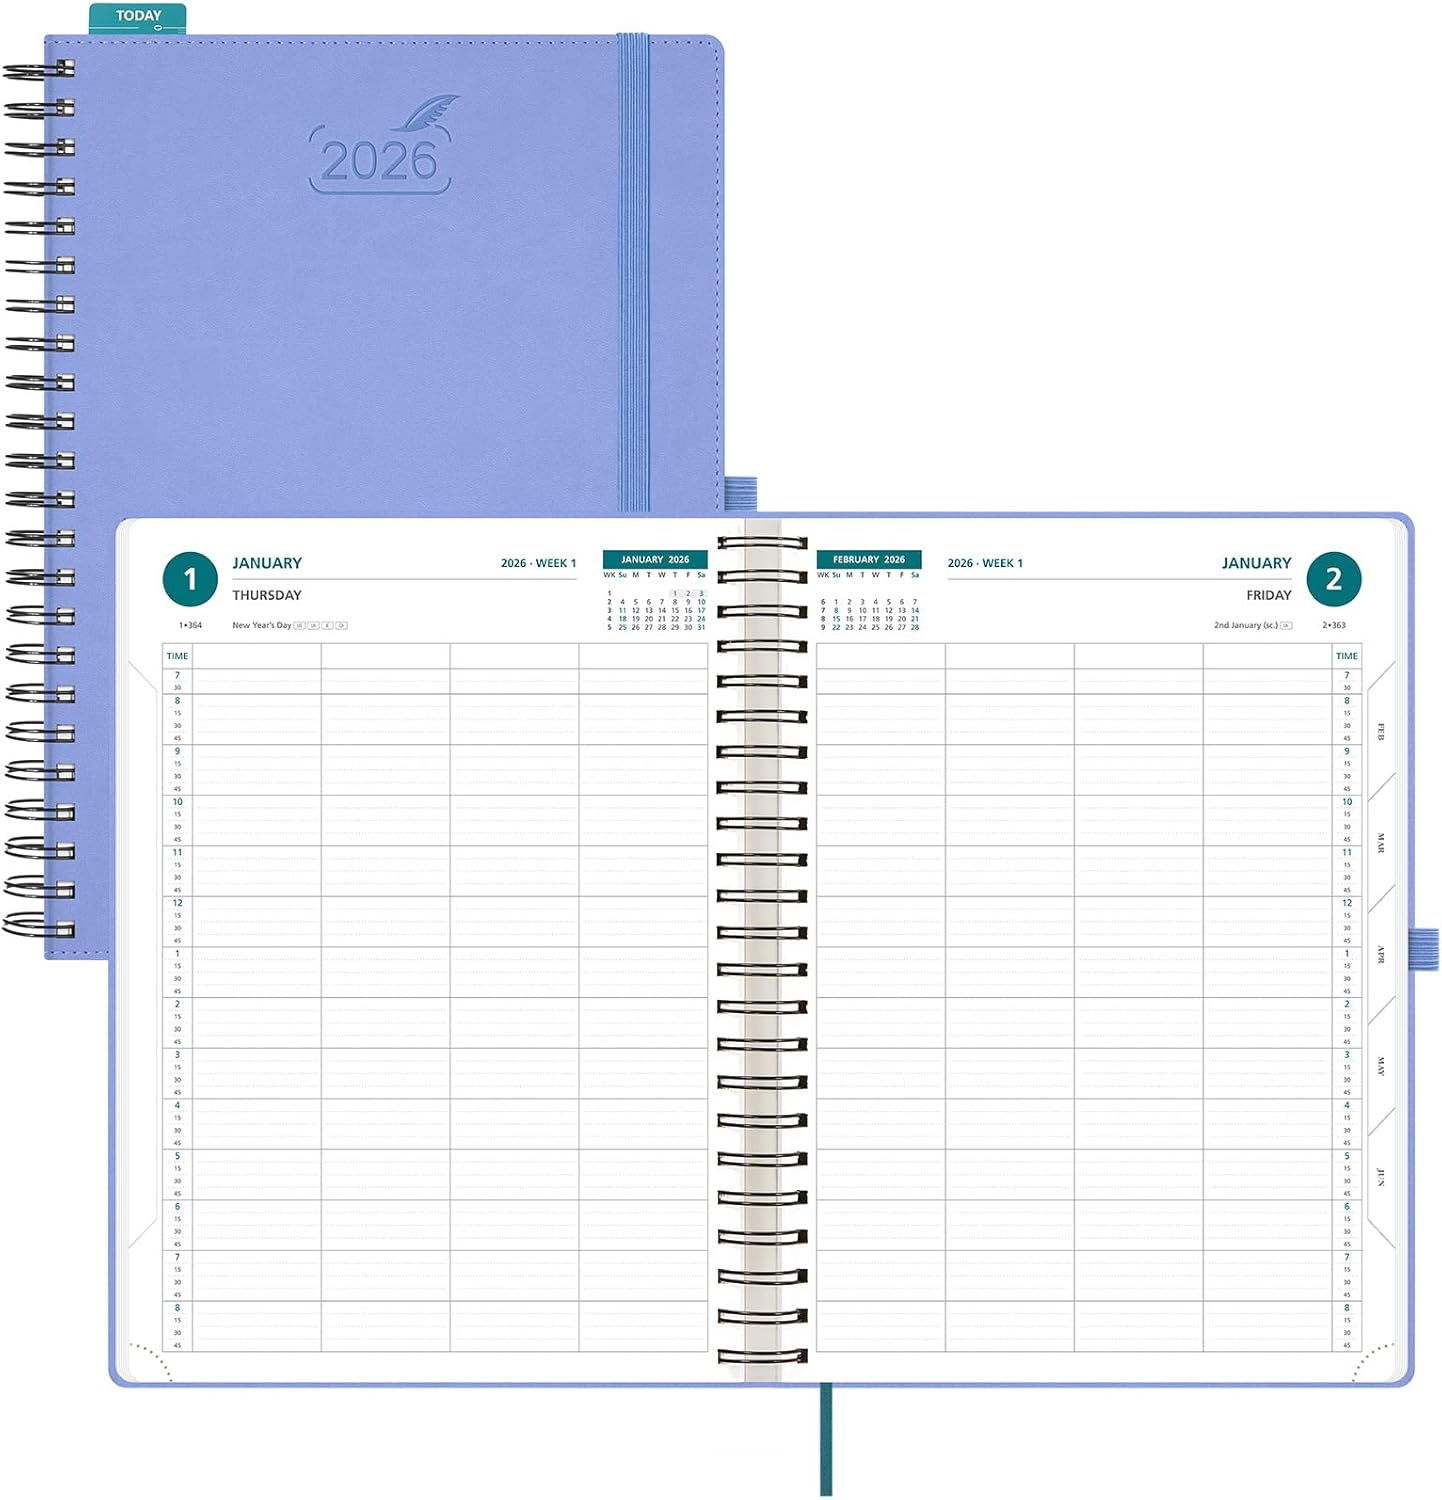
III. Mandatory Risk Control Rules for Wholesalers to Cut Rework Losses
- Confirm trimming tolerances during samplingNegotiate deviation limits with factories in advance: a tolerance of ±0.5mm for business gift planners, and a maximum ±1mm for standard supermarket planners. Include these terms in production contracts, making the factory liable for all rework costs if tolerances are exceeded.
- Standardize design safe margins beforehandRemind your clients of design specifications: leave a minimum 3mm safe margin between all text and graphics and the trim line to avoid cut-off content.
- Require regular cutting blade replacement from manufacturersCommunicate this requirement before placing orders: brand-new blades must be installed mid-production for large bulk orders to avoid widespread ragged edge defects.
- Approve a pre-production full sample before mass manufacturingOnce a complete bound prototype is trimmed, the factory must send it to you to verify four-edge dimensions and cut surface quality. Mass production only proceeds after your confirmation.
- Lock consistent machine parameters across all print batchesAssign a single trimming machine for all inner page production runs, with no mid-order equipment switches, to guarantee uniform sizing for the complete planner set.
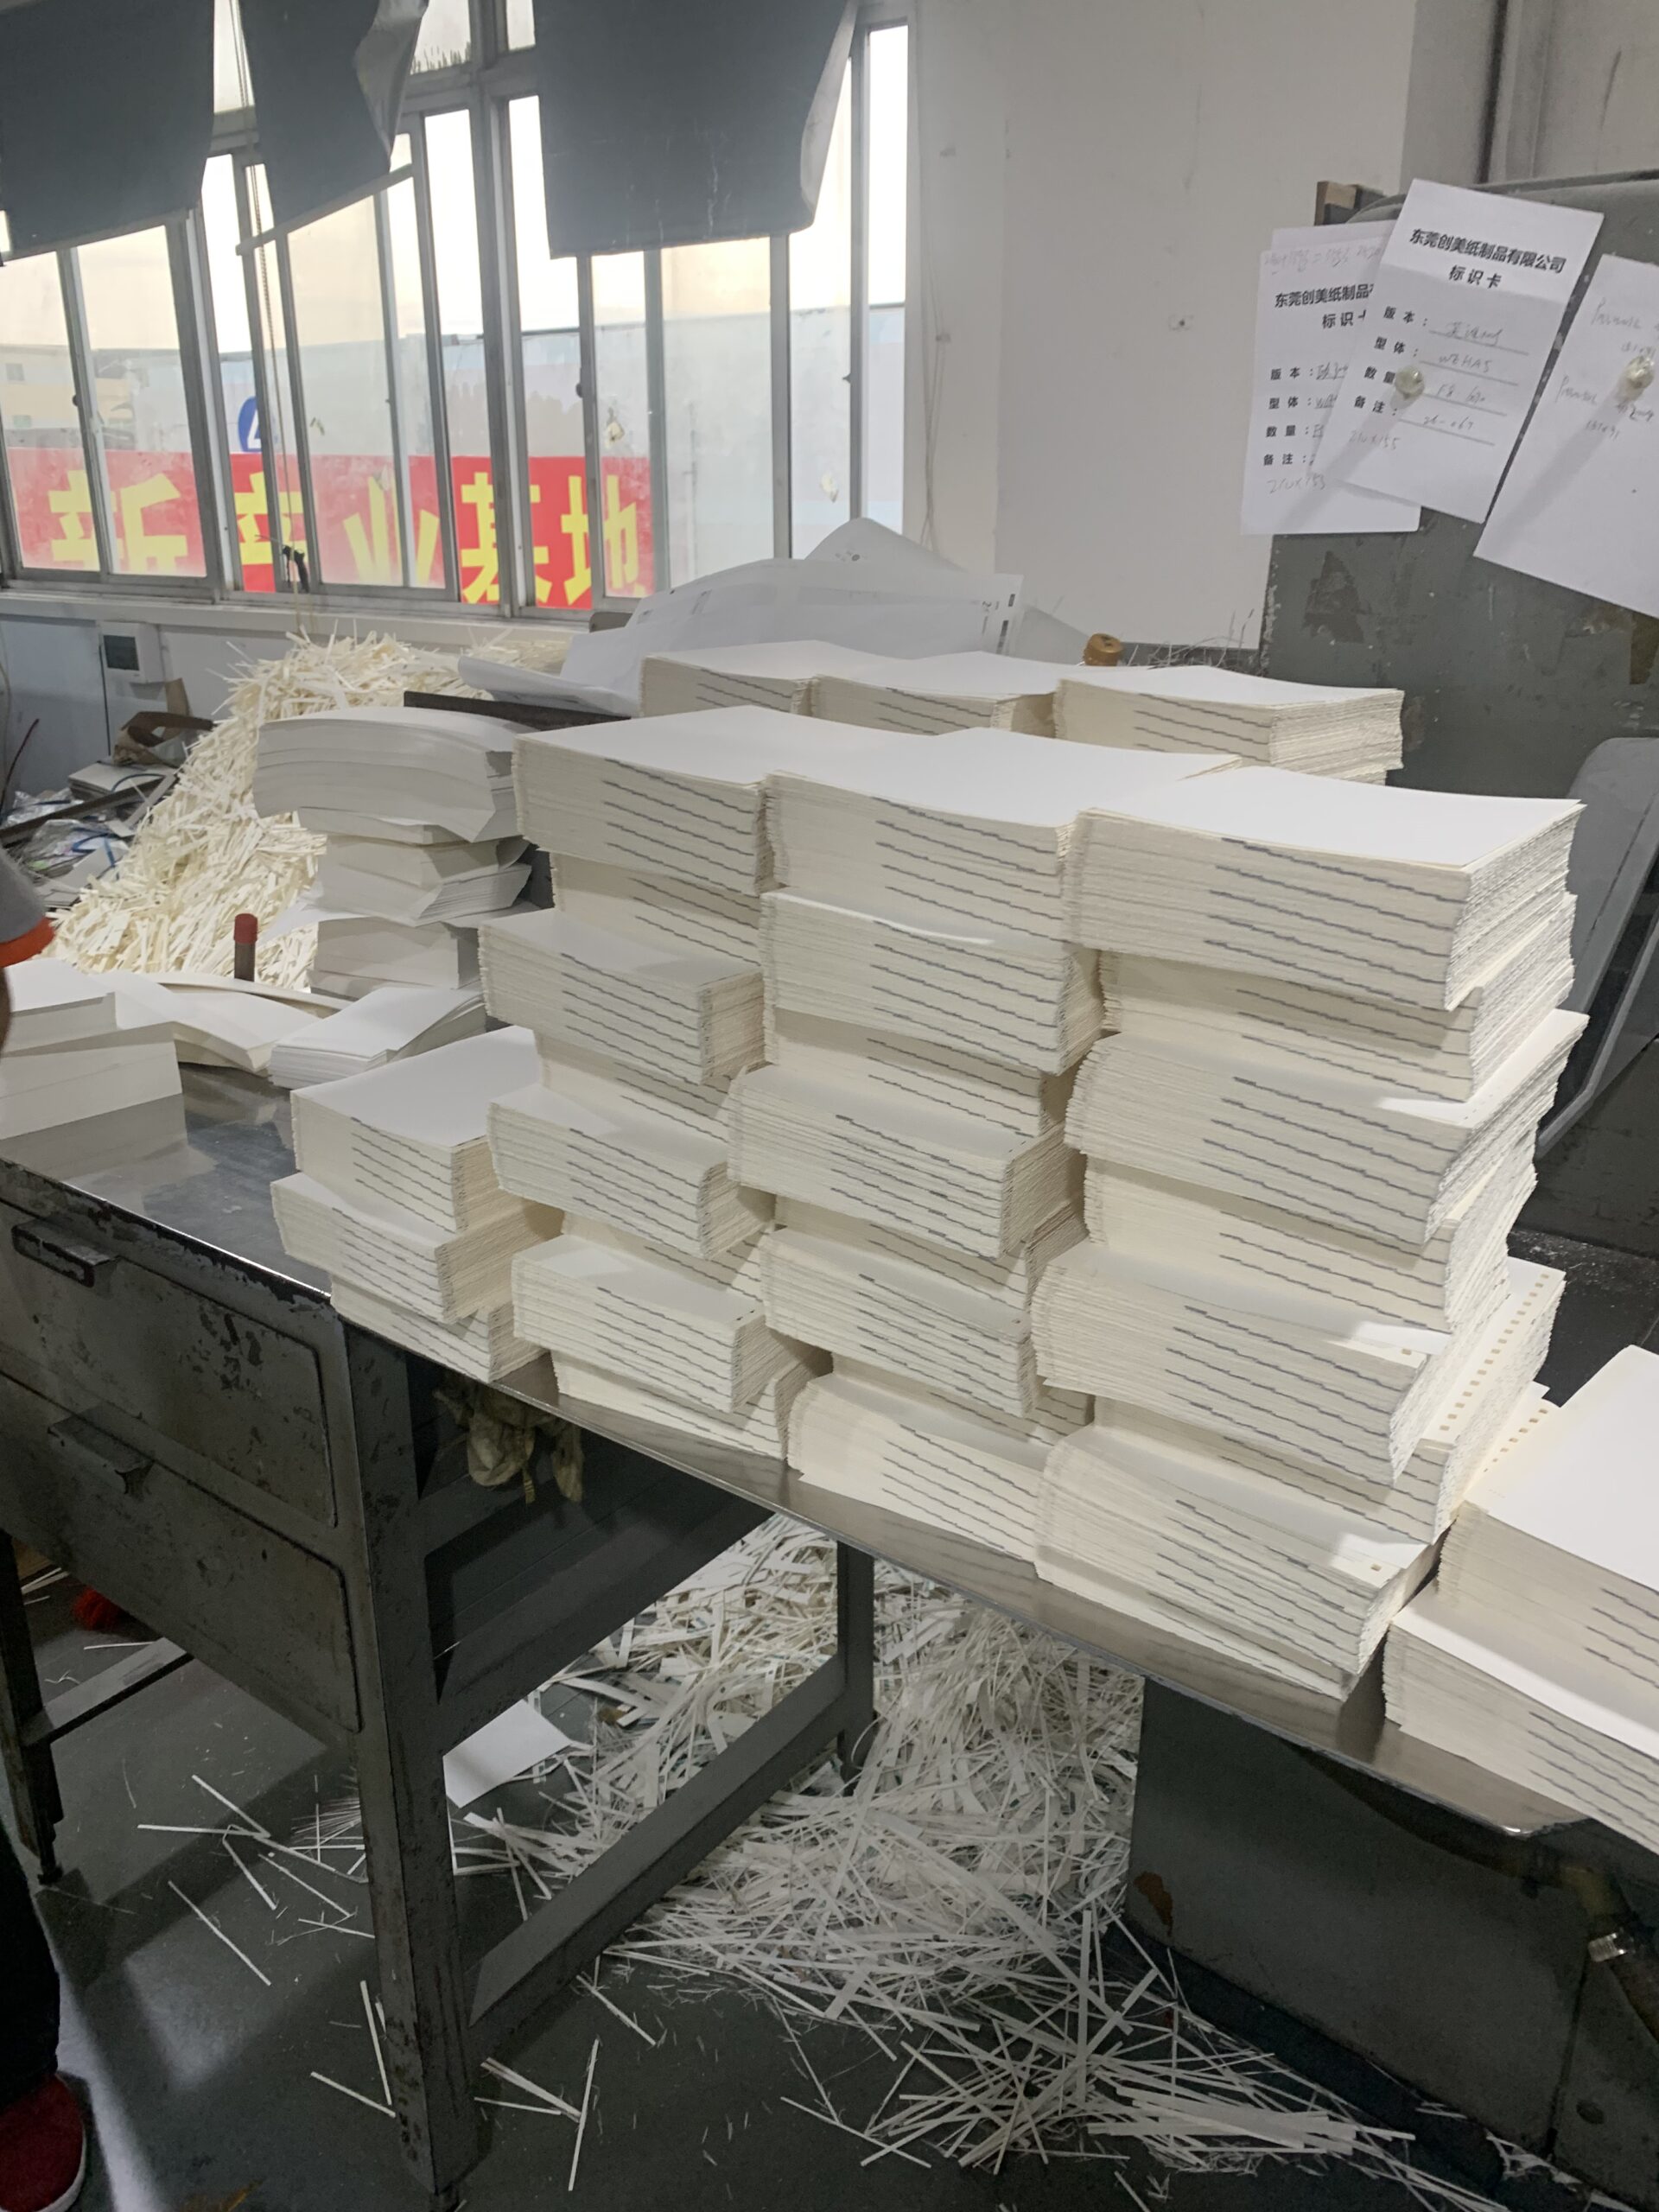
IV. Conclusion
Premium cover craftsmanship attracts customer orders, while precise inner page trimming determines whether orders can be completed smoothly and generate profits. Many factories prioritize decorative surface finishes while neglecting foundational trimming quality. As a wholesaler, you must include strict inner trimming standards in your production requirements, tightly control dimensions, cut surface smoothness and graphic safe margins, reduce returns and rework, and retain repeat long-term clients.